Raspberry Pi Camera Comparison

I use a number of Raspberry Pi 3 Model B ARM-based Linux computers to help simplify my day-to-day life. Because I live in an urban area, I have been interested in setting up a security camera that could alert me to any issues that might arise when I’m not in the house. Most recent Raspberry Pis also include a CSI connector, meaning that it is easy to connect a high-resolution camera that can be easily accessed via python or via bash. This would also be helpful for any other computer vision setup, including OctoPrint. Since the Raspberry Pi runs OpenCV, I can use open source computer vision source code to quick and easily setup a security system. The first step is selecting a camera.

I plan on using a Raspberry Pi 3 or Raspberry Pi Zero v1.3 (with camera connector) as the base machine. However, there are a number of 3rd party cameras available. As is often the case, I was not able to find a comparison of the options available online, so today I am going to do a quick and dirty look at the following cameras:

Model Chipset Megapixels Advertised FOV
Raspberry Pi Camera OV5647 5MP 54° (h) x 41° (v)
Raspberry Pi v2 Camera IMX219 8MP 62.2° (h) x 48.8° (v)
Arducam 5MP RPi Camera OV5647 5MP 54° (h) x 41° (v)
Waveshare RPi Camera (I) OV5647 5MP 170°
Waveshare RPi Camera (J) OV5647 5MP 222°
Waveshare RPi Camera IR-CUT OV5647 5MP 75.7°

In this post, I provide some demonstration photos for outdoor, indoor, and low-light scenarios for the modules.

Read More

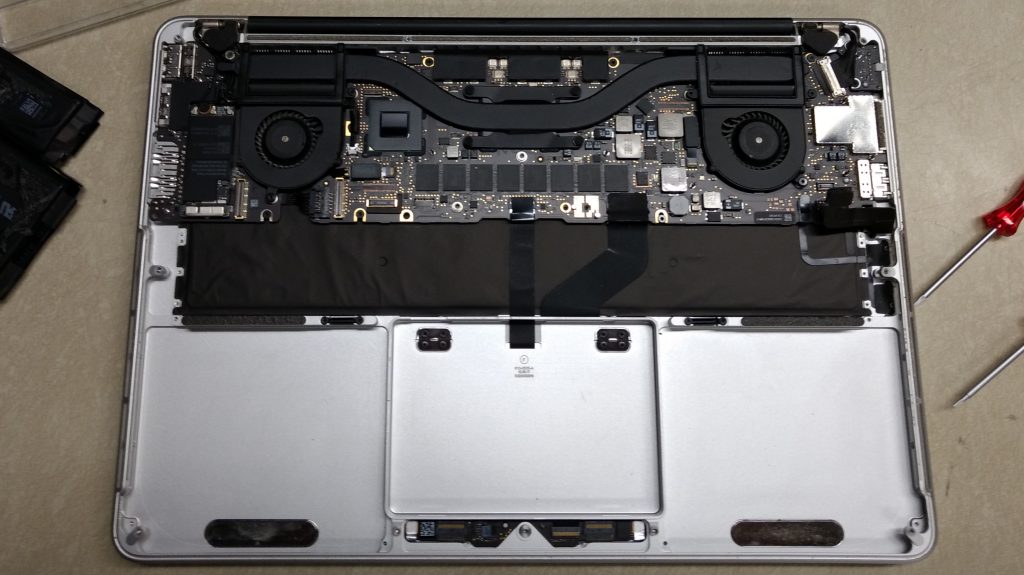
Replacing Battery in Apple MacBook Pro Retina (Late 2012)

The battery on my Late 2012 Apple MacBook Pro Retina is garbage. It holds a charge for no more than 20 minutes, completely dies at approximately 50% reported battery charge remaining, and the menu has an exclamation point noting that I need to service my battery. Admittedly, this is after over four years of continuous usage for my research and studies and I’ve downplayed the warnings for almost a year now. I have avoided replacing the battery because I was nowhere near the maximum number of cycles that Apple claims I should be able to reach before the battery is considered “consumed” (~600 charge cycles vs. Apple’s stated max. of 1000). But I could not stand the fact that I can’t use my laptop without a power cable and none of the fixes suggested online were working (e.g., resetting the SMC). So, it was time to replace the battery.

Read More

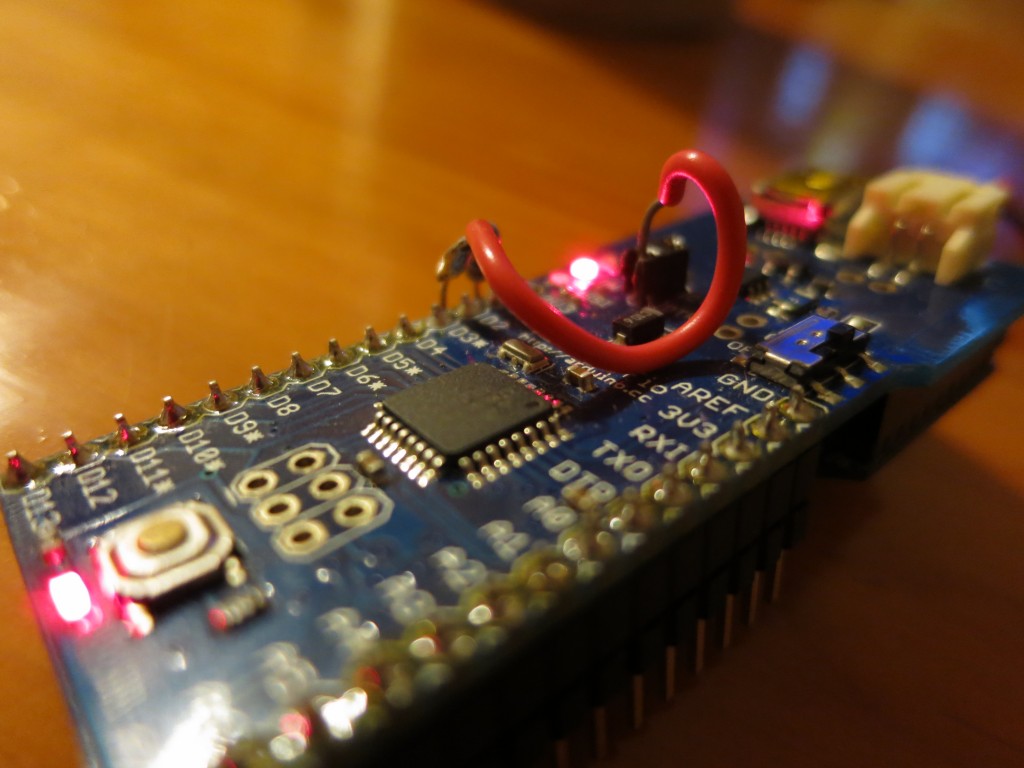
WiFi-Enabled Arduino Fio using the WiFly RN-XV (RN171XV)

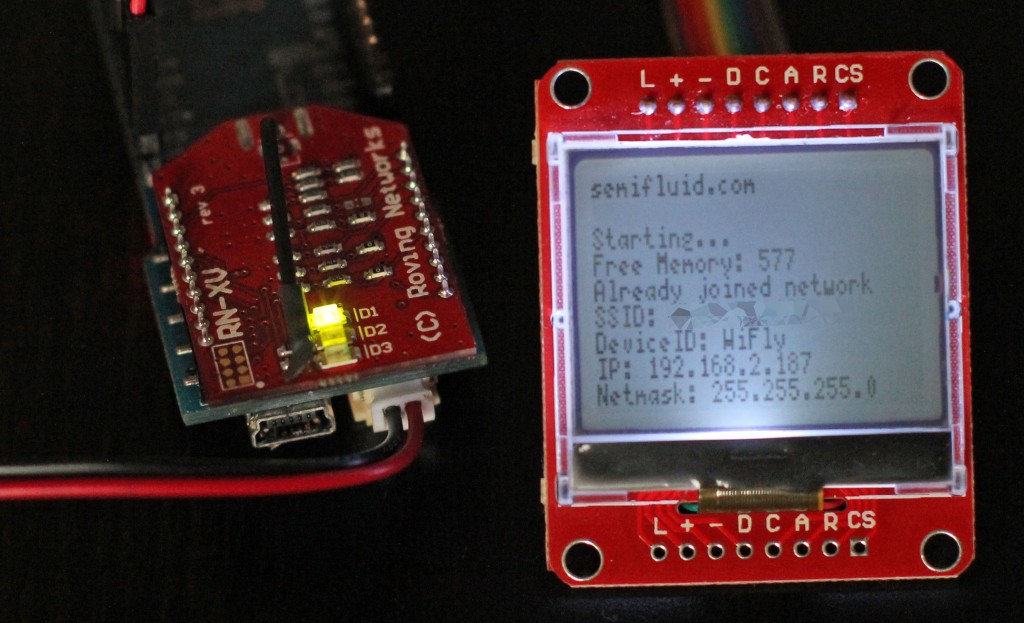
The Arduino Fio is a nice little Arduino board designed specifically to interface with XBee devices. I think it’s a great little board and have used it quite a bit in the past. BUT, I haven’t talked too much about the XBee interface, so for this post, I wanted to demonstrate an example utilizing the XBee socket to get an Arduino Fio onto the web. This is a simple example, just demonstrating communication with the Microchip RN171XV (previously Roving Networks RN-XV) wifi module.

WiFlyTimeWithConsole Example

Click through the break for information on the setup and source code to get the Arduino Fio onto the web.
Read More

Arduino FIO Graphical LCD Console

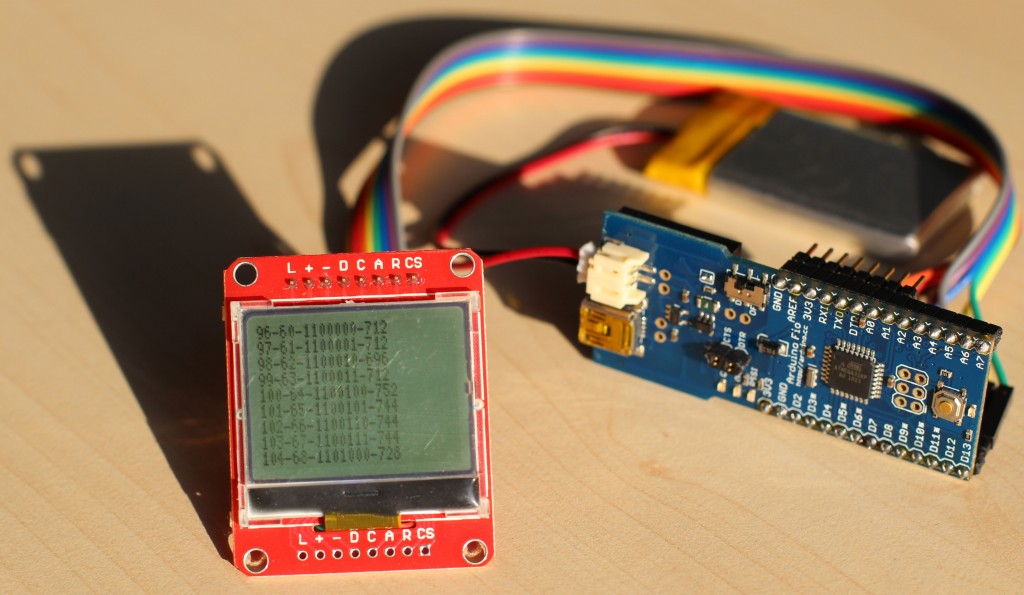
I have previously shown how to use the Arduino Fio and the mini12864 graphical LCD to create a simple oscilloscope. For this post, I wanted to demonstrate the u8glib console demo because I plan on using the GLCD to debug some of my projects and to provide a visual interface for experiments with the Microchip RN-171-XV.

IMG_6922_cropped

More information on the project, a video of it in operation, and its code after the break.
Read More

Arduino FIO LCD Oscilloscope

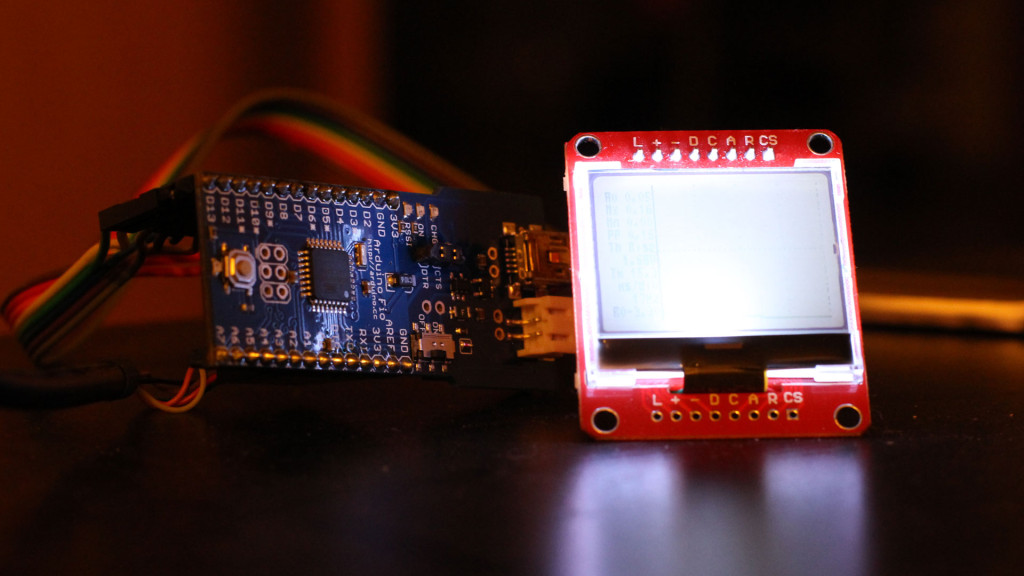
It has been 7 years (!) since I posted my PIC18F2550 KS0108 Graphical LCD Oscilloscope code and schematics. I have long since taken the circuit apart, sold my PIC microcontrollers, and moved on in my life (as one can surmise from my most recent posts detailing my graduate and postdoctoral work). However, I still get inquiries about the Microchip PIC oscilloscope, so I decided to recreate it using a simpler setup using my Arduino Fio.

IMG_4199

Here’s a short teaser video just to show that, yes, it works (going through a couple different sine wave frequencies, some random noise, etc. just to illustrate it working):


Click through the break to get more information on the setup.
Read More

Arduino FIO DS18B20 Temperature Logger

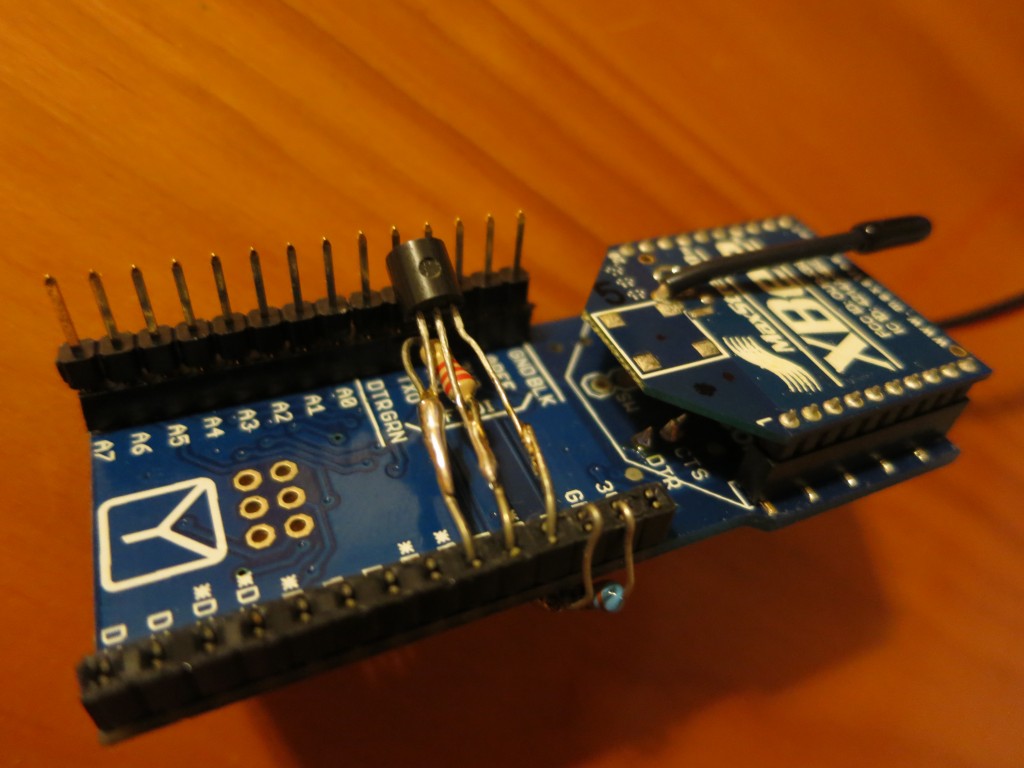
We have a Arduino Fio temperature logger, so now maybe we can increase the accuracy by adding an external temperature sensor. I have a couple of DS18B20 Programmable Resolution 1-Wire Digital Thermometers, so I thought, heck, let’s try one out!

These temperature sensors are much more accurate out-of-the-box, so I don’t need to deal with calibration (which I did need to worry about with the internal thermometer). In addition, using separate, discrete components allows for the possibility of putting temperature sensors directly on/in whatever you may want to measure (rather than merely measuring the ambient temperature) and the potential for multiple temperature sensors with a single Arduino Fio (which are available at Amazon.com).

Read More

Arduino FIO Internal Voltmeter and Thermometer

Let’s extend the low power Ardunio Fio + Xbee setup that I previously blogged about.  I wanted to see if I could create a simple wireless temperature sensor that could allow for long(er) term logging.  Interestingly, the ATmega328P on the Arduino Fio has both a “secret” internal thermometer and internal voltmeter, meaning that I could (potentially) create a wireless sensor with no external additional external components (other than the Fio, XBee, and battery).

So, taking advantage of the available hardware and the code available, I went about creating a wireless temperature logger using an Arduino Fio (available from Amazon.com) and two XBees (one for the Fio and one for the coordinator).

Read More