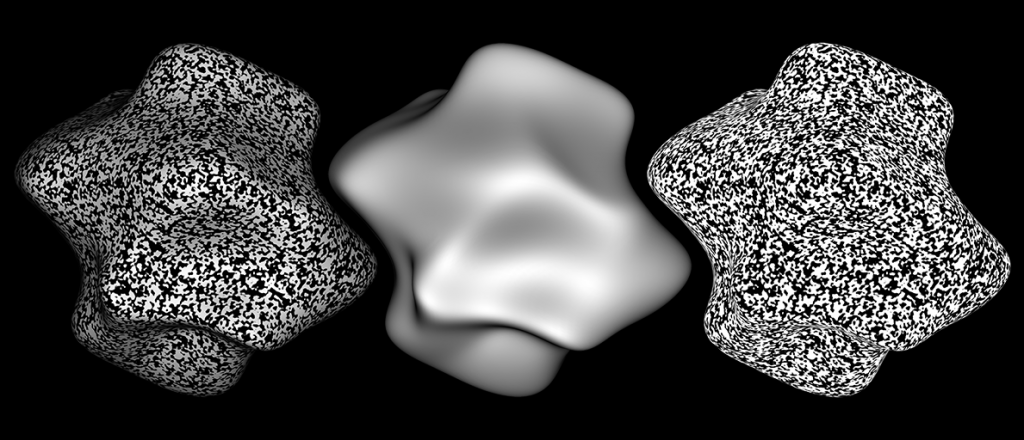
I have been working with a 3D blobby object for some of my pilot studies on shape from shading and texture that I would like to 3D print. Back at Rutgers University, we had a MakerBot Cupcake, but now that I am in Germany, I need to find alternatives. I have been looking into getting the 3D object printed using Shapeways.com but there have been a few hiccups along the way, so I wanted to describe my experiences in the hopes that it might help someone else avoid these issues in the future. The object was generated in MATLAB using a simple script (see 3D “Potato” Generation using Sinusoidal Pertubations) and rendered in our 3D environment:
So the question is: What do I need to do to get this 3D object printed at Shapeways? Click through to see the steps that I took to get this 3D model printed economically.
Since the object generation script creates a MATLAB struct with vertices and faces, I was able to use the vertface2obj script by Anders Sandberg to export .obj files. Here is the object at a variety of resolutions in .obj format:
- 162 vertices (12 KB)
- 642 vertices (41 KB)
- 2562 vertices (160 KB)
- 10242 vertices (659 KB)
- 40962 vertices (2.8 MB)
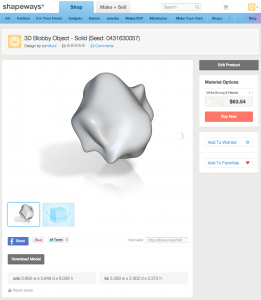
These .obj files can be imported directly into Shapeways. After importing, Shapeways runs a series of sanity checks to make sure that the file can be printed and then posts it on their site. Here’s a link to one such imported object.
|
|
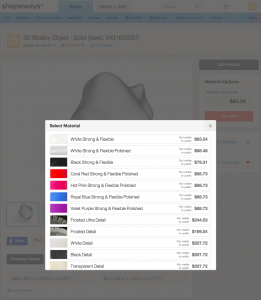
Notice the price? (~$63 for a plastic print) Whoa! That’s a lot more than I wanted to pay for a simple blob model.
It turns out that the cost of printing a model at Shapeways is proportional to the model’s volume (source):
Our pricing is based upon the actual amount of material used in your product and the material you choose to use. So, the actual volume of your finished product not the volume of the bounding box determines the price.
So, the way to print this shape economically is to reduce the volume of the print. Shapeways suggests a couple of ways to reduce the cost of the 3D print, including hollowing out the model and carving it to reduce the total surface area. Using OpenSCAD, I was able to do both.
OpenSCAD allows for the importation of .stl files, which is another “standard” 3D file format. Using the stlwrite script, I was able to export my faces/vertices from MATLAB to a file that could be imported into OpenSCAD. Here’s the previously illustrated example file at a variety of resolutions in .stl format:
- 162 vertices (16 KB)
- 642 vertices (66 KB)
- 2562 vertices (258 KB)
- 10242 vertices (1 MB)
- 40962 vertices (4.1 MB)
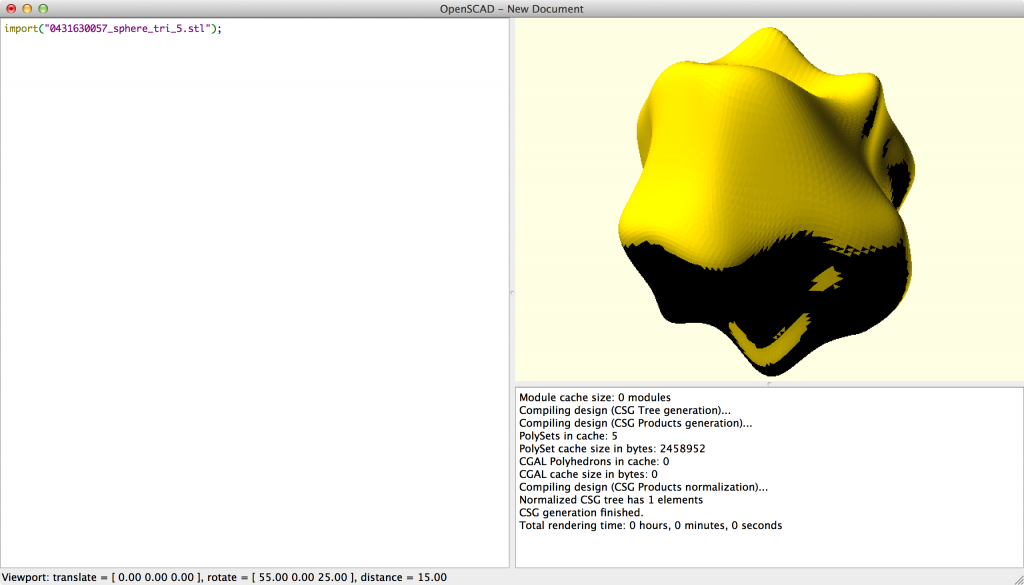
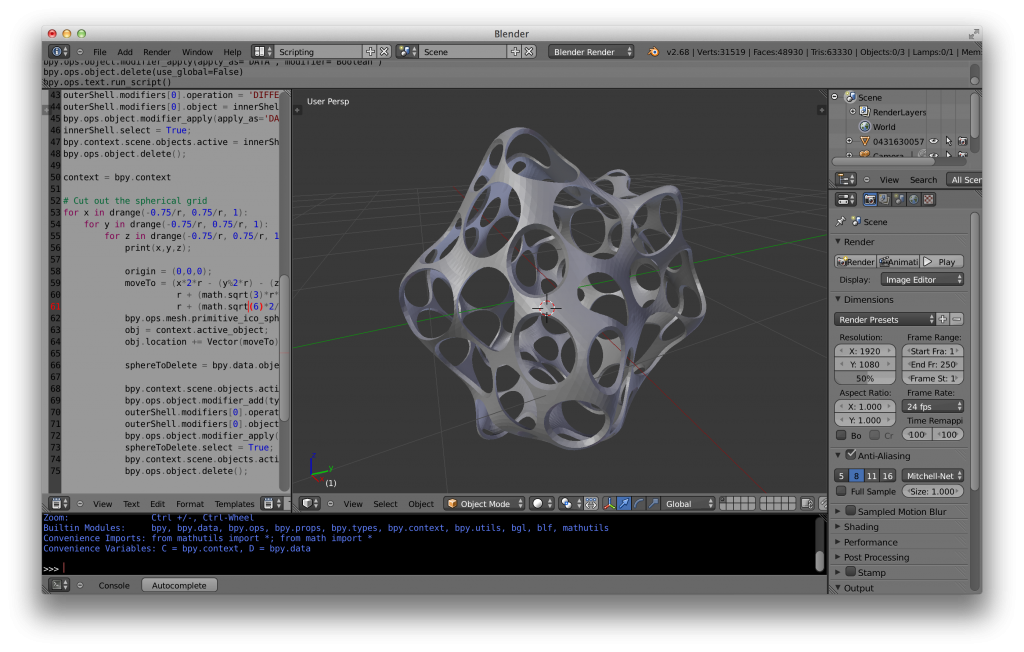
Let’s work with the 10242 vertices file, “0431630057_sphere_tri_5.stl“. First, we can import it into OpenSCAD using:
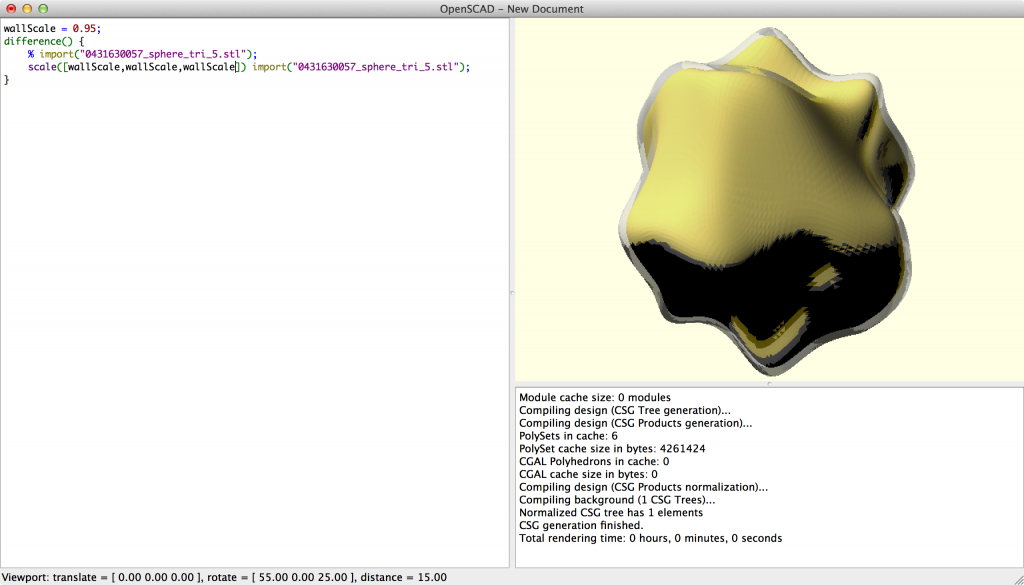
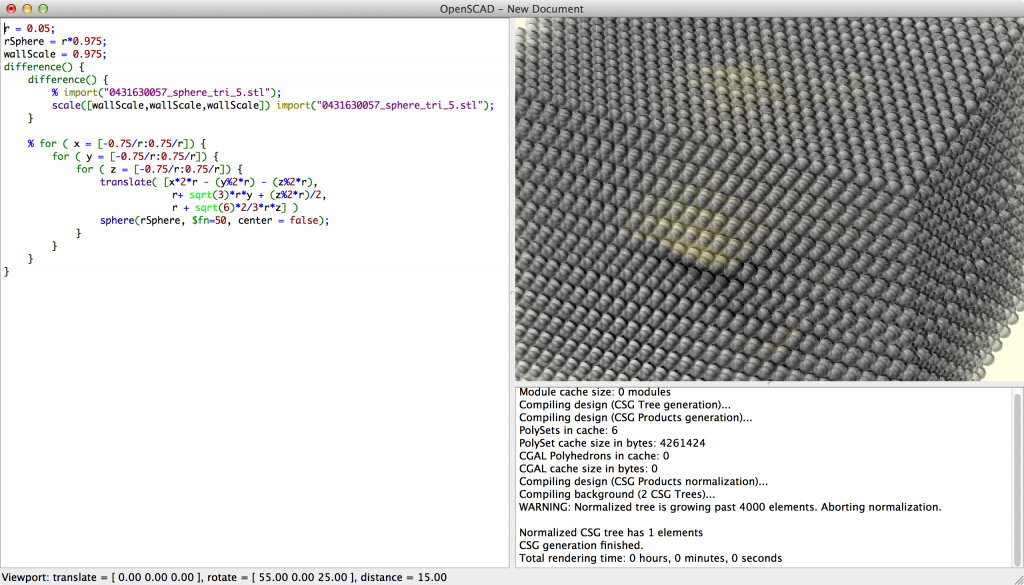
Then we can do a “difference” between the object and a downscaled version to create the shell using (note that the % “background modifier” is used to make the bounding object transparent gray):
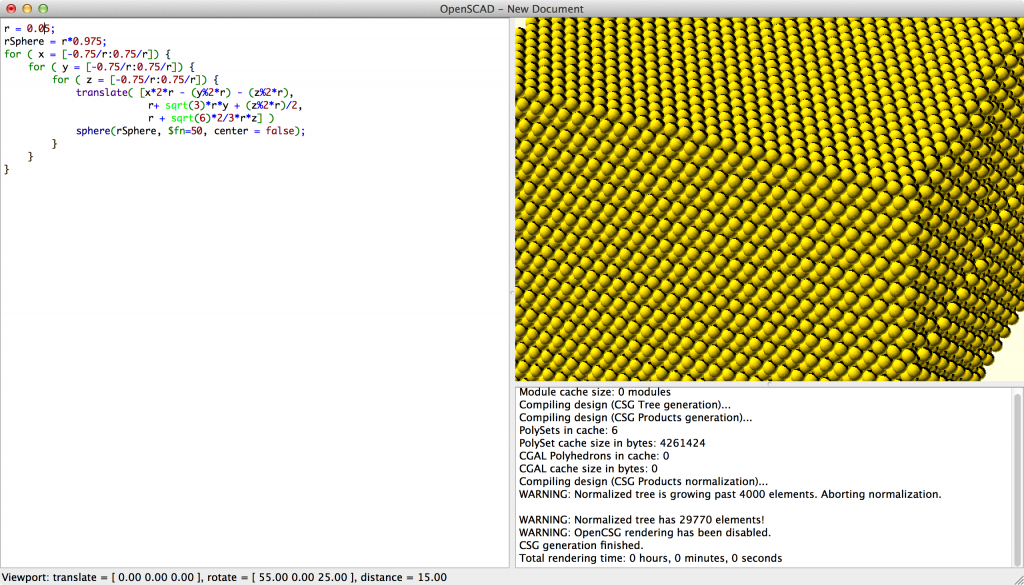
So we now have a shell, but let’s get rid of some more of the material by carving out a lattice of packed spheres. First, we will create a lattice of spheres (I just used the description on the Wikipedia page to create some simple procedural generation code):
Now we subtract the lattice from the shell that was previously generated, again using the difference command:
This would normally be the end of the process and you could then save the .stl and import it into Shapeways. However, all of the OpenSCAD coding turned out to be a useless garden path because the OpenSCAD computation took far too long and too much memory to process when using higher resolution base shape files and higher resolution spheres (repeatedly crashing when I tried to compile the code).
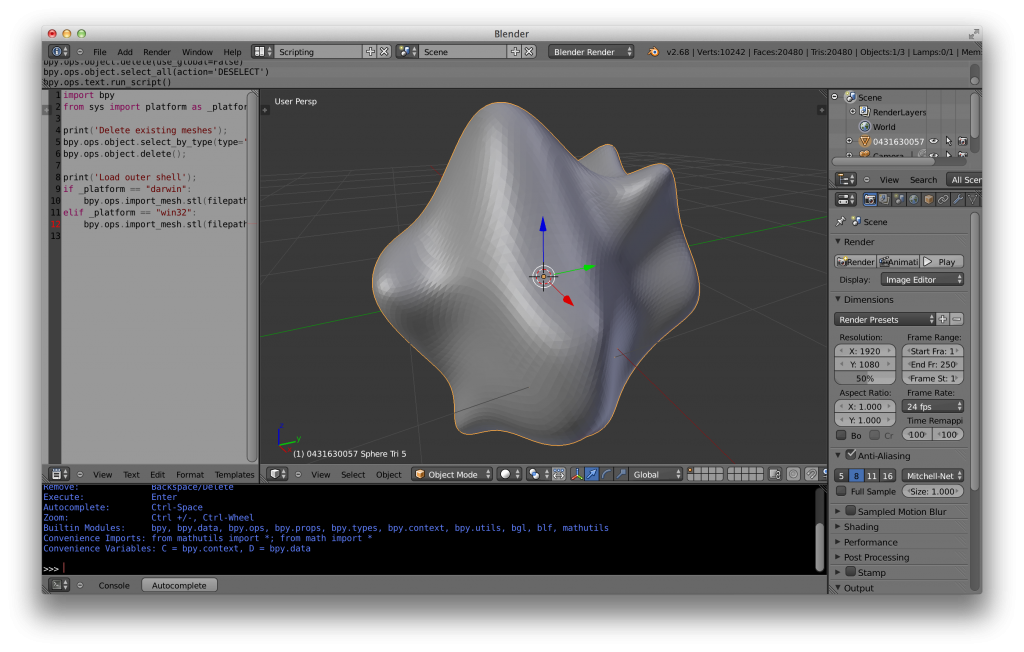
So, I tried an alternative route… Blender. Let’s replicate the steps above in Blender’s Python scripting interface. First, import0431630057_sphere_tri_5.stl into Blender:
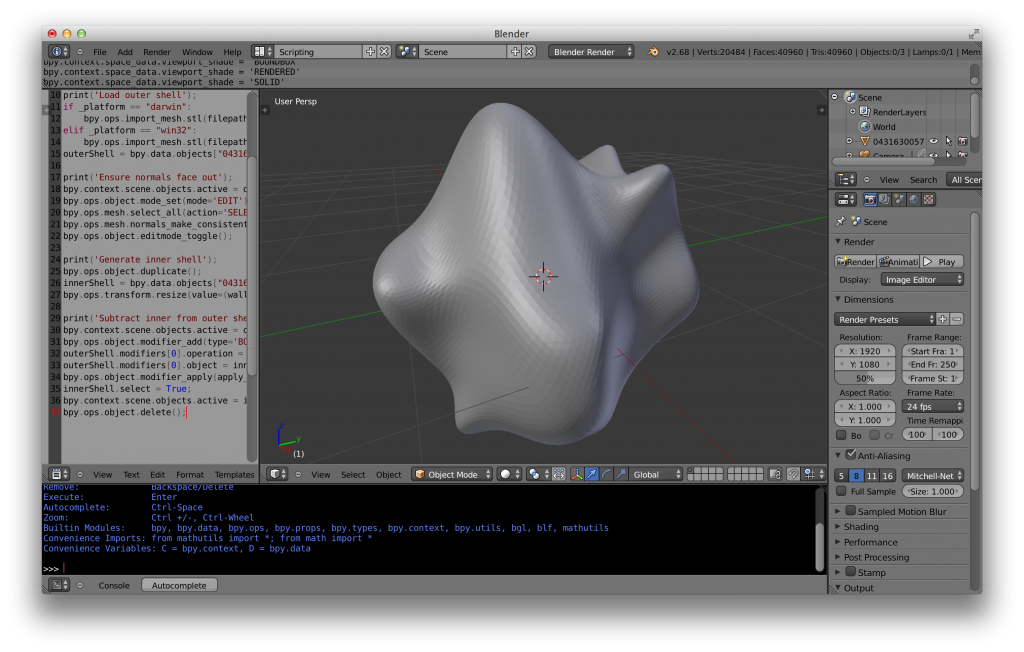
Then, duplicate the object, reduce its scale, and take the boolean difference between the copy and the original to create a shell:
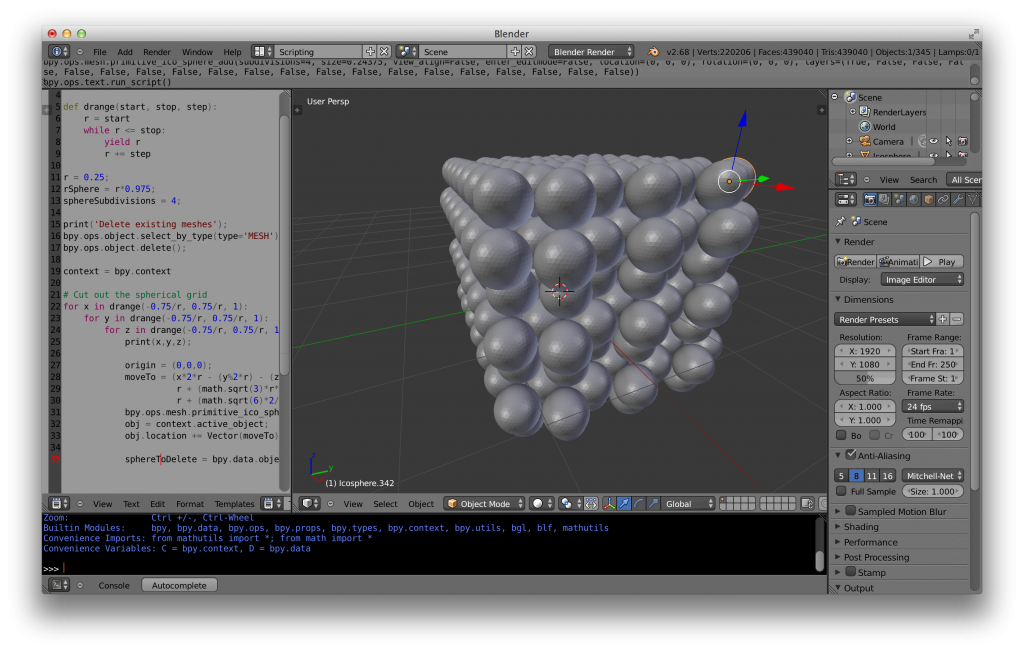
Then we create a lattice of spheres:
And finally, take the boolean differences between the shell and the spheres. Putting it all together:
This workflow uses up a lot less memory than the OpenSCAD route, but the processing time is still painfully slow. Thankfully though, it does not crash the compiler. To monitor the progress of the process, I simply run the script from the command line using “blender –background –python ‘SCRIPTLOCATION'”. I used the same bit of code as described above to create the “production quality” model, but used a higher resolution base shape (0431630057_sphere_tri_6.stl), higher resolution spheres (sphereSubdivisions = 5;), and a higher spatial resolution lattice (r = 0.1;). I saved it using:
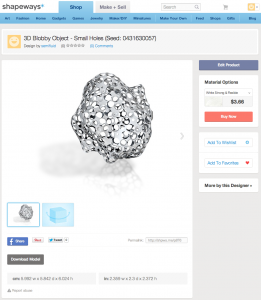
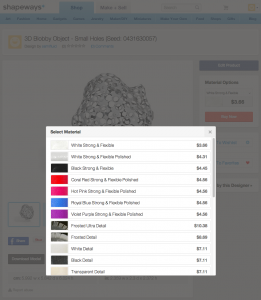
After importing the object at Shapeways, we see that we can save a serious chunk of change on printing the new, modified model. Here is a link to the new and improved product on Shapeways, now only $3.66 (vs. $63.54) for the White Strong & Flexible Material.
|
|
